AWS Developer Tools Blog
Connecting to Amazon EC2 Instances from the AWS Toolkit for Visual Studio
I think the feature I use the most in the
AWS Toolkit for Visual Studio is being able to quickly connect to my EC2 instances with Remote Desktop. I use the toolkit to store my private keys encrypted so when I want to remote desktop, all I have to do is confirm I want to use the key pair and click
OK.
AWS Toolkit for Visual Studio is being able to quickly connect to my EC2 instances with Remote Desktop. I use the toolkit to store my private keys encrypted so when I want to remote desktop, all I have to do is confirm I want to use the key pair and click
OK.
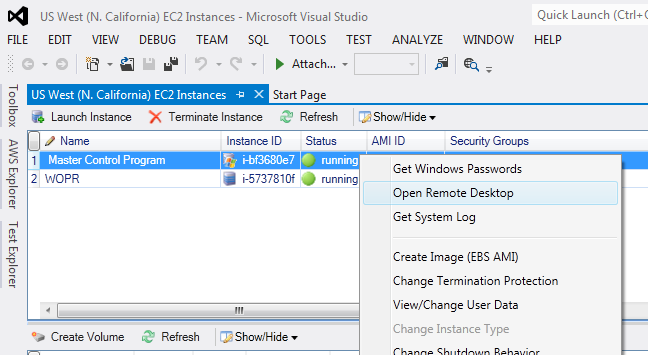
For example, let’s say I want to remote desktop into my instance. I would navigate to the
EC2 Instances view, right-click my instance, and click
Open Remote Desktop.
EC2 Instances view, right-click my instance, and click
Open Remote Desktop.
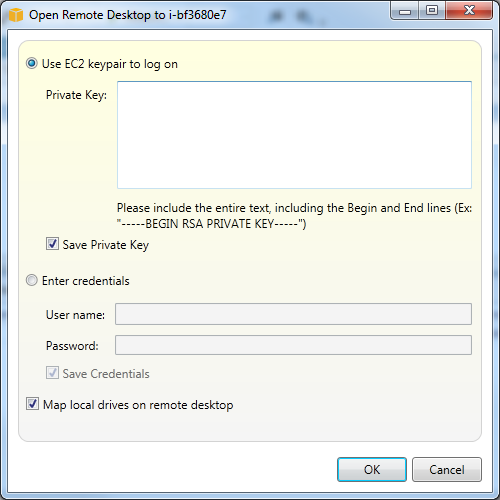
In this case, I have not yet used the private key with the toolkit, so it prompts me to enter my private key. I’m going to leave the
Save Private Key field checked to make it easier to remote desktop in the future, and then I click
OK.
Save Private Key field checked to make it easier to remote desktop in the future, and then I click
OK.
Now the toolkit starts the Remote Desktop session, and in a few seconds I will be in my Windows instance ready to go. The next time I attempt to connect to this instance or any instance that uses the same key pair, I’ll get a connect box like the one below.
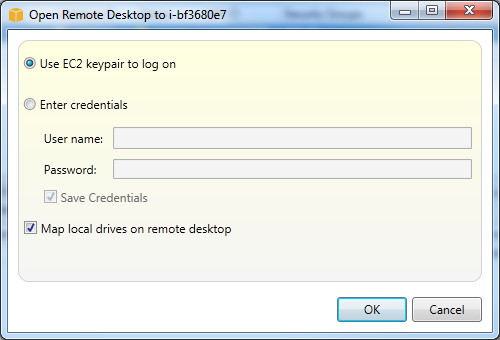
Since the toolkit has the private key stored in it, I’m no longer prompted to enter my private key. I just need to confirm I want to use this specific key pair to log on, and the toolkit takes care of the rest.
Not only can I remote desktop from the
EC2 Instances view, but I can also remote desktop directly from the AWS Elastic Beanstalk
Environment view and the AWS CloudFormation
Stack view by clicking the
Connect to Instance button in the toolbar. If multiple EC2 instances are associated with the environment or stack, I will first be prompted for the specific EC2 instance I want to connect to.
I can also use the toolkit to connect to my Linux instances just as easily. In this case, the toolkit will use the Windows SSH client Putty, which I needed to install before attempting to SSH. The toolkit gives me all the same advantages of storing my private key and takes care of converting the private key from its native PEM format to Putty’s PPK format.