AWS DevOps Blog
Using New T2 Instances With an Existing Elastic Beanstalk App
Today’s post comes from Sebastien, Technical Trainer for AWS. Based in Luxembourg, he helps our customers and partners gain proficiency with AWS services and solutions. You can follow him on Twitter @sebsto.
Earlier this week Amazon announced the availability of T2 instances for EC2. T2 instances are a new low-cost, general purpose type that are designed to provide a baseline level of CPU performance with the ability to burst above the baseline.
You can learn more about T2 instance type family by reading Jeff’s blog.
The T2 instances use Hardware Virtualization (HVM) in order to get the best possible performance from the underlying CPU and require an HVM AMI. As a result, if you try to migrate an existing Elastic Beanstalk environment (that is based on a paravirtualized AMI) to T2, you will notice that the new instances do not appear in the list.
But don’t panic, migrating to T2 instance type is just a few clicks away: you just need to create a new AWS Elastic Beanstalk environment for your application.
In this post I’ll walk through 8 steps to create a new environment and seamlessly migrate your DNS CNAME to point to that new environment.
VPC Required
It’s important to note that T2 instances must be launched into an Amazon Virtual Private Cloud (VPC); they are not supported on the EC2-Classic platform. The Elastic Beanstalk documentation has instructions for using VPC with Elastic Beanstalk.
Migrate Existing Enviroment to use T2
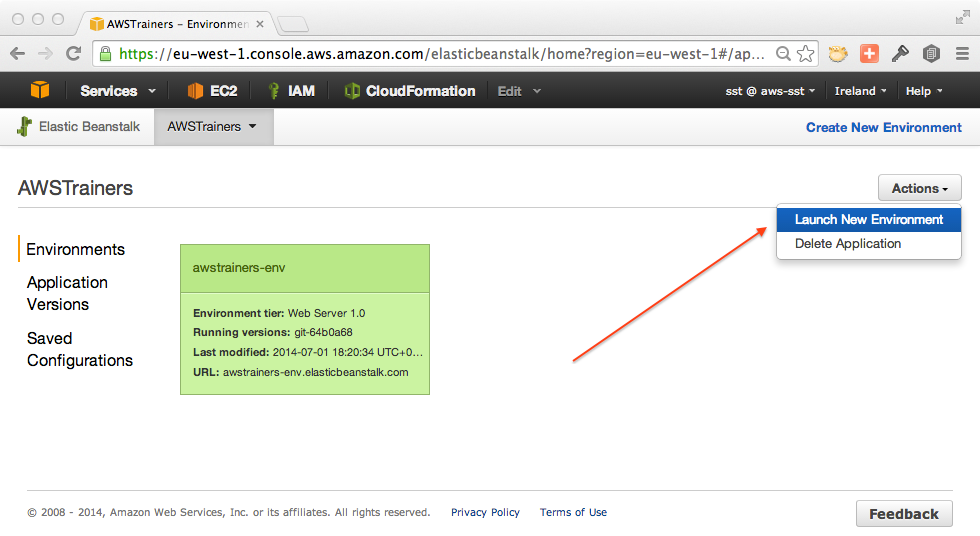
1. Starting from your application dashboard, select “Actions”, then “Launch New Environment”
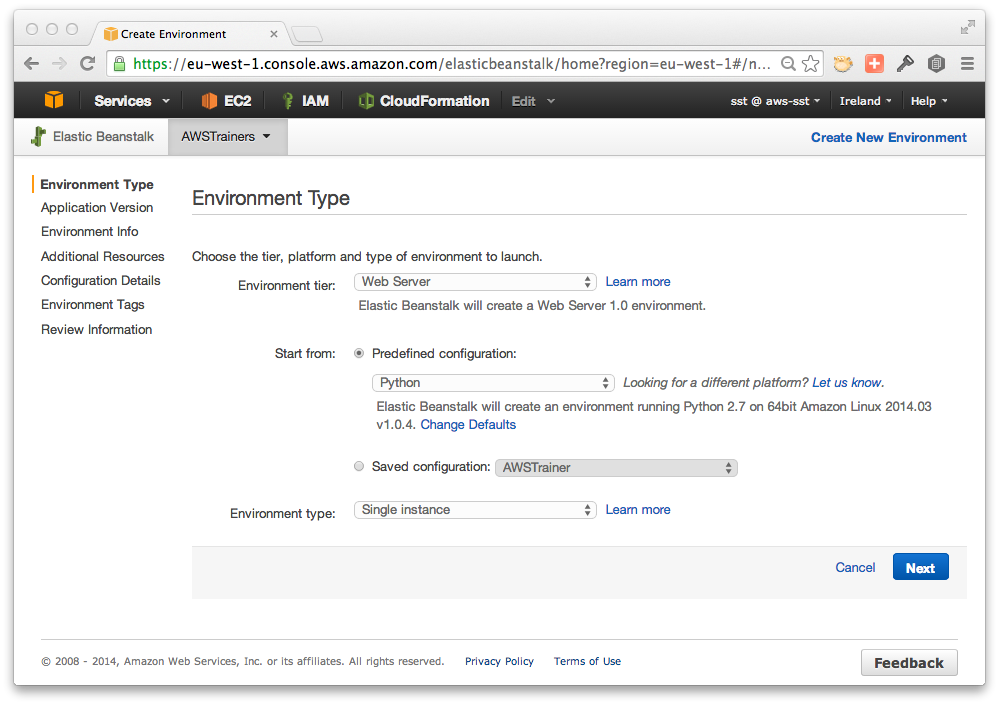
2. Select appropriate values in “Environment Type” and “Application Version” (be sure to select your last git commit if you are pushing from git)
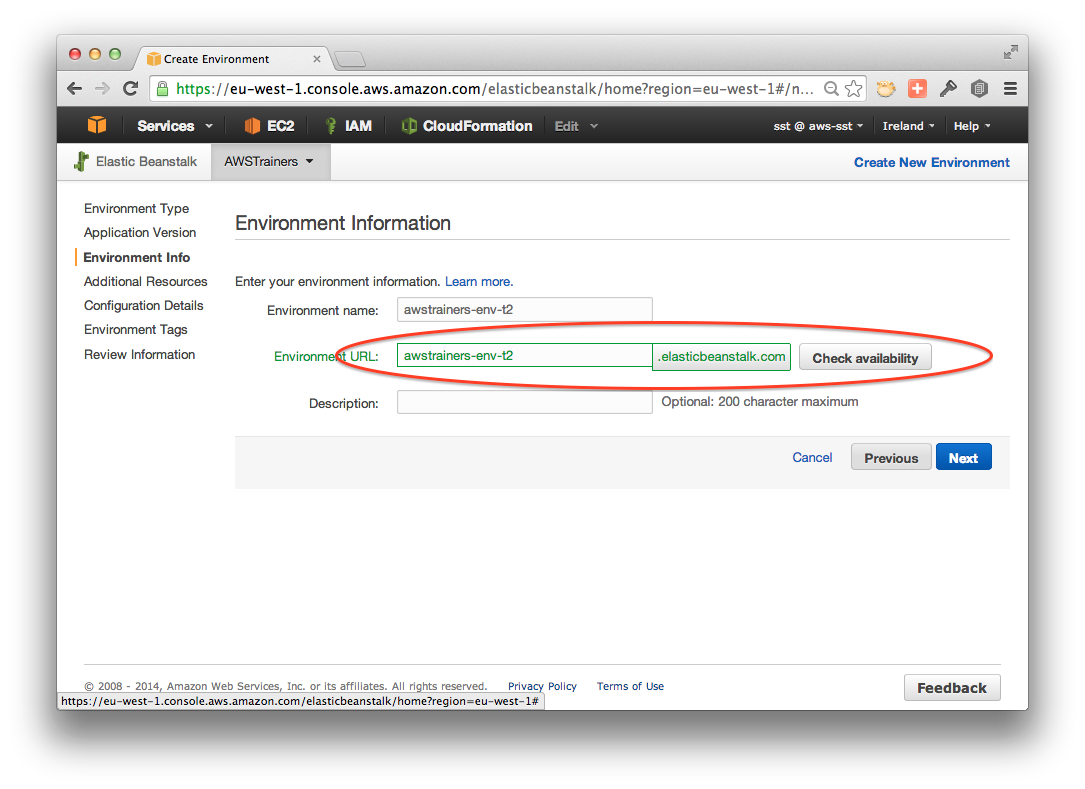
3. Choose a new URL for this environment and ensure it is available.
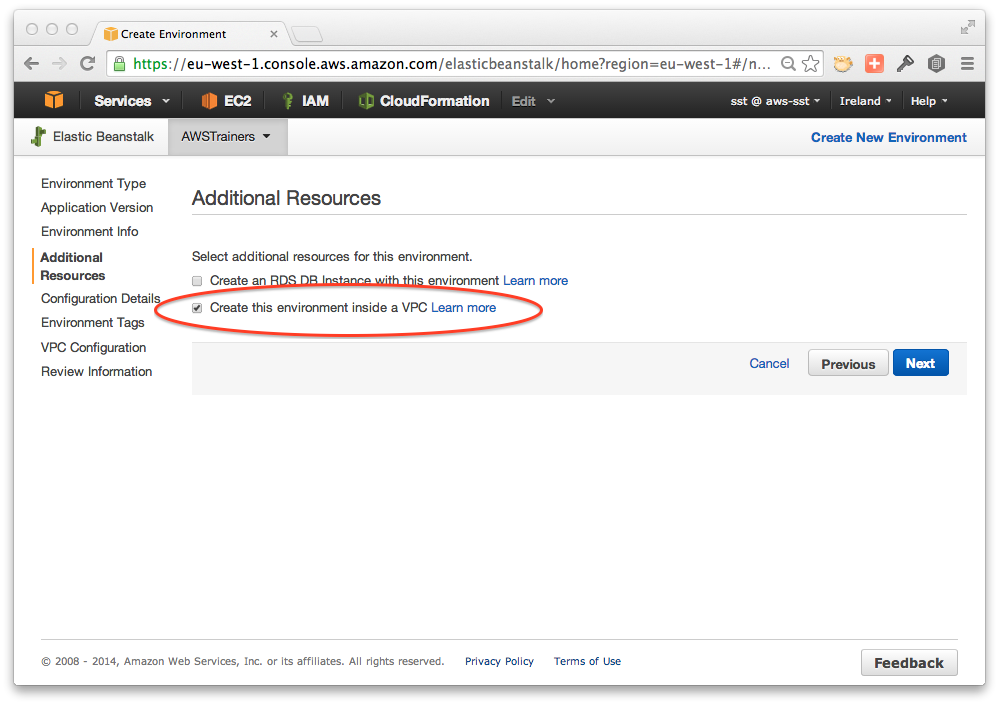
4. Select “Create this environment in a VPC” in “Additional Resources”. T2 instances must be launched into Amazon Virtual Private Cloud (VPC); they are not supported on EC2-classic platform.
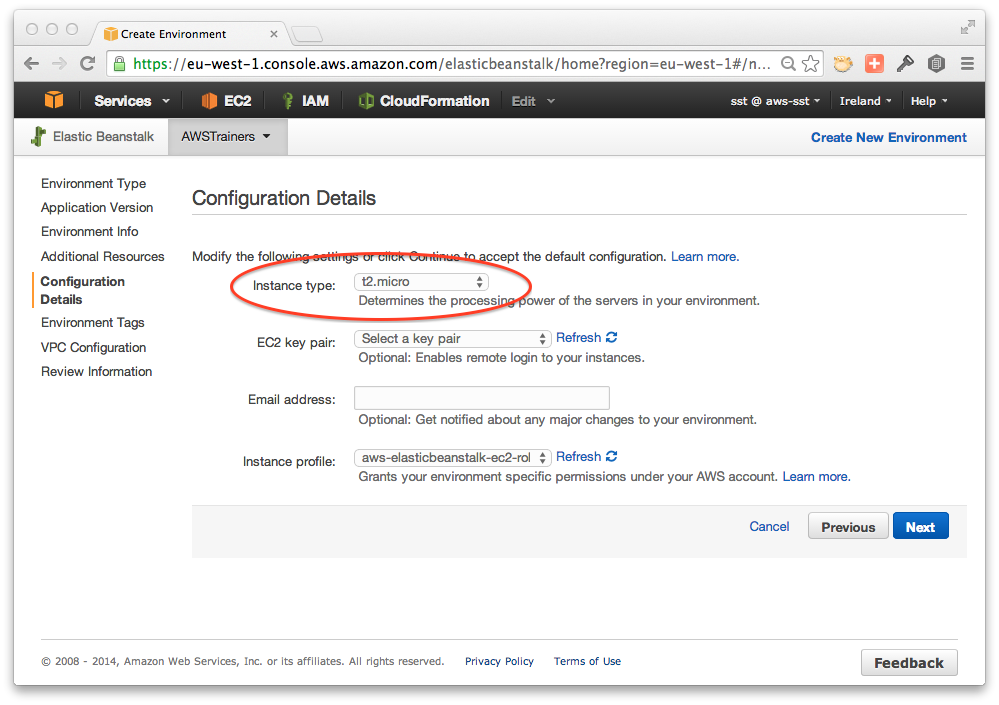
5. In “Configuration Details”, select the T2 instance type you need (micro, small or medium)
6. Add your environment Tags
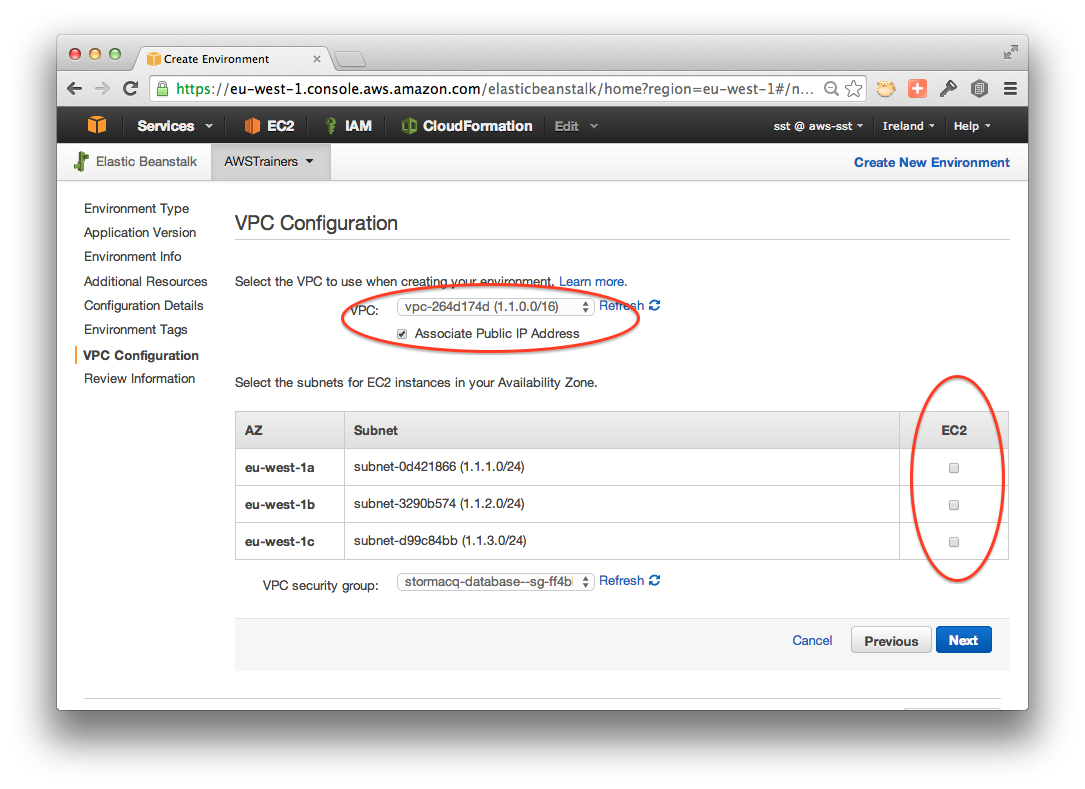
7. In “VPC Configuration”, be sure to select a VPC, to “Associate Public IP Address” (required when your environment is standalone) and to select the list of subnets where you will authorize AWS Elastic Beanstalk to deploy your instances
8. Review your configuration and click “Launch”
At this stage of your migration, it is a good time to grab a cup of coffee or tea, as AWS Elastic Beanstalk will create a new environment for you, start an instance and deploy your application on it. The whole process takes a couple of minutes.
You can observe the progress in the console:
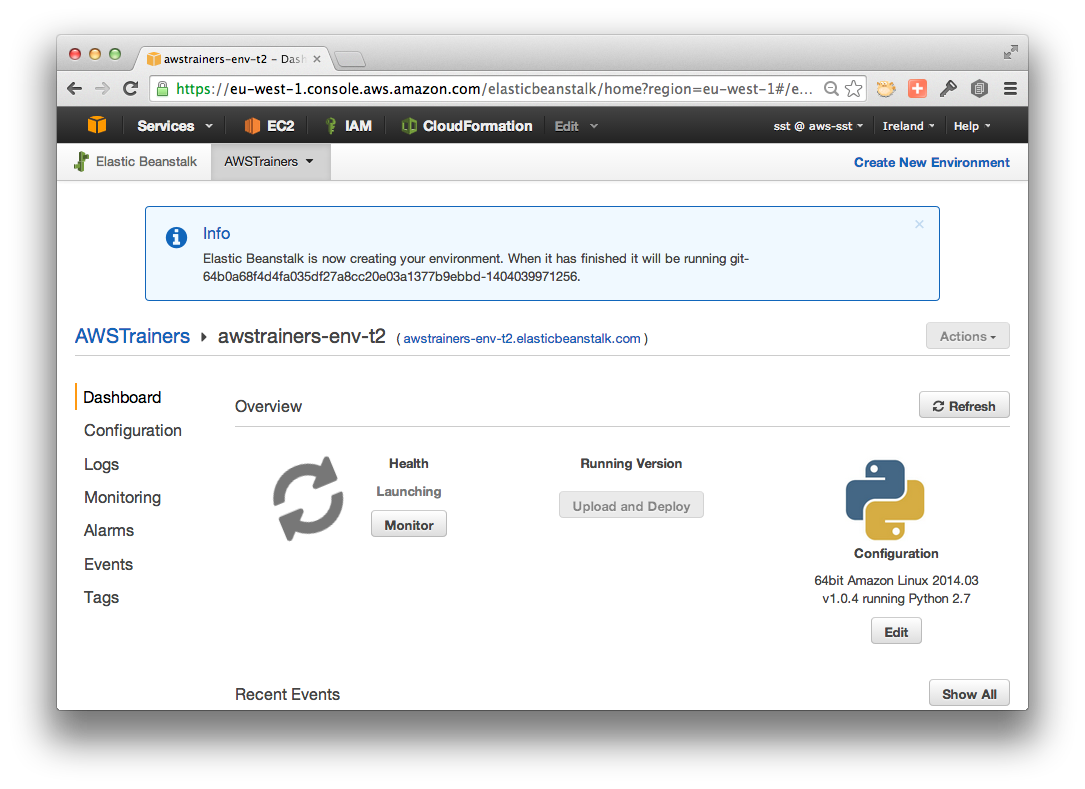
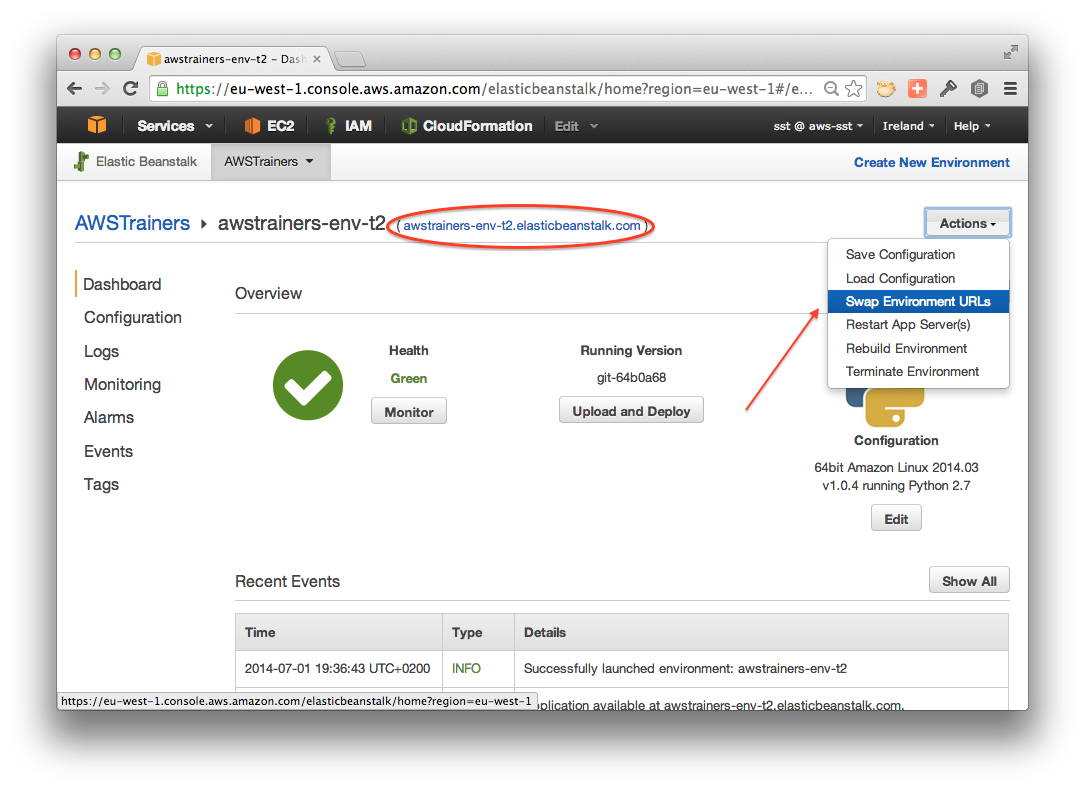
The environment eventually will turn green and you will be able to test your application at the new URL displayed on the top part of the screen.
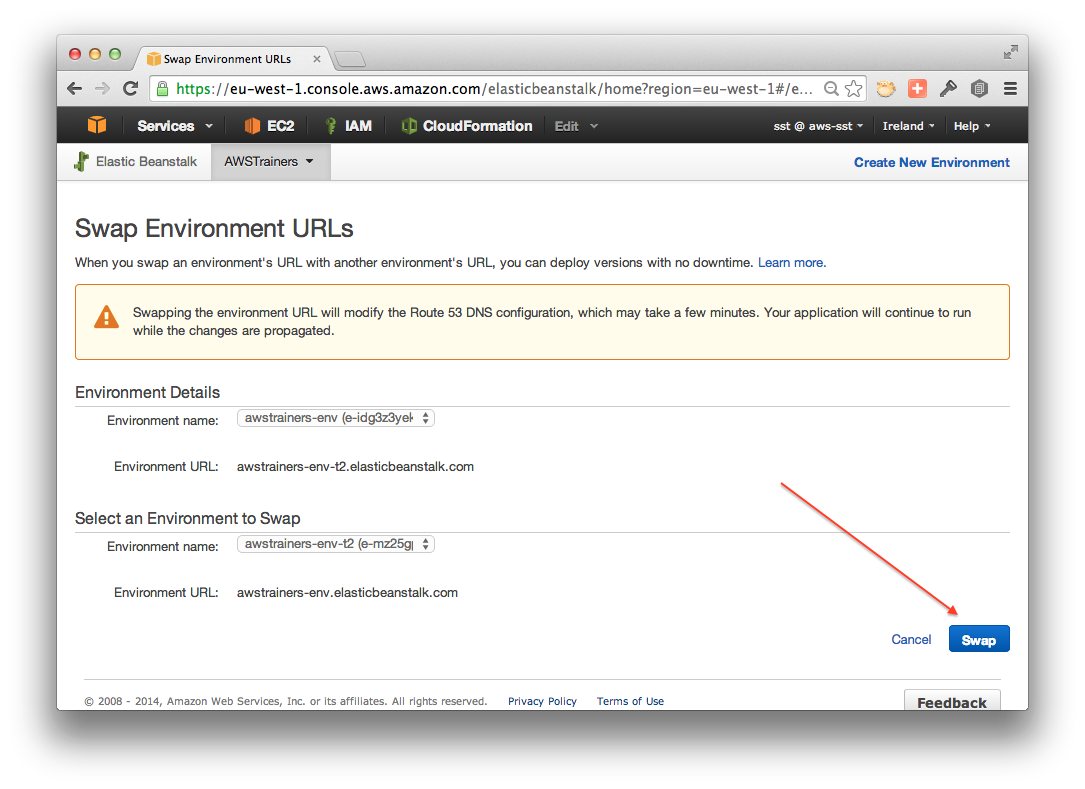
When you are happy with the changes, you can click on “Actions” then “Swap Environment URLs” to swap the URL of your production environment with this new one, promoting your freshly created T2 instance to production.
Confirm your choice and you’re done!
Finally, to confirm your application is running on T2, you can open the EC2 console:
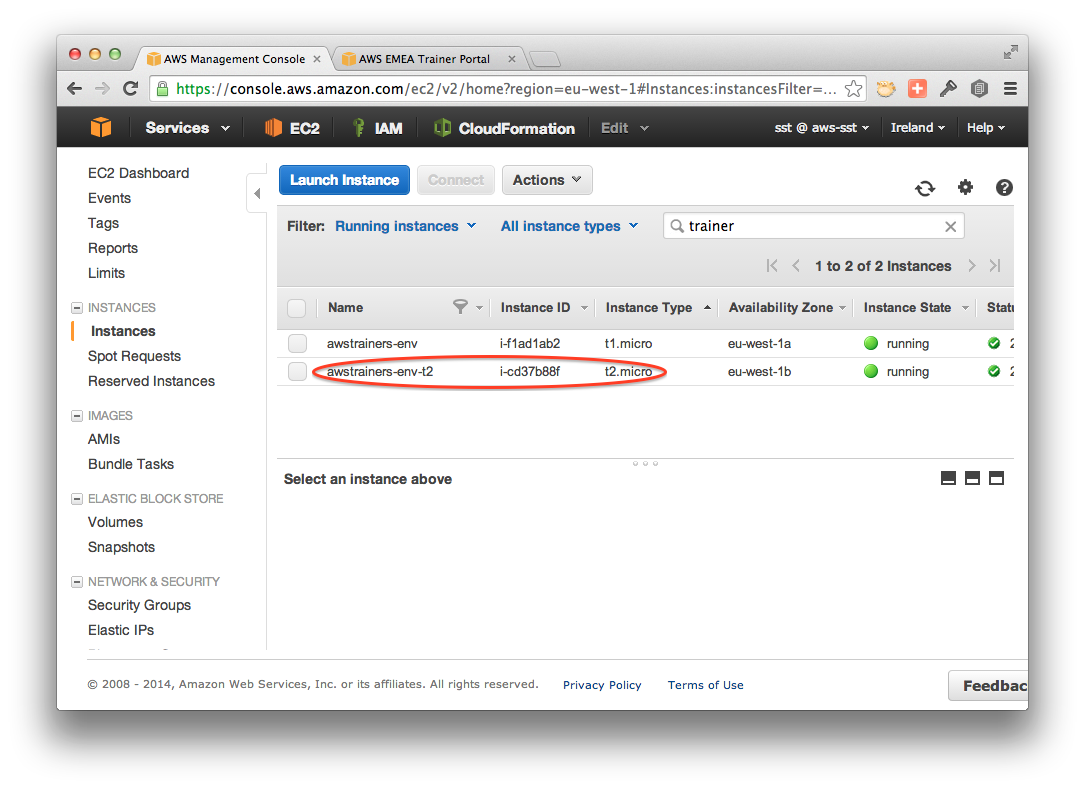
Congratulations, you’ve just deployed your application to a T2 instance type! You will immediately benefit from better performance at under half the cost of previous generation T1 and M2 small and medium.
When you are sure you will not need the old environment anymore, do not forget to Terminate it from AWS Elastic Beanstalk console to avoid incurring additional costs.
As usual, do not hesitate to send us your comments and to share your feedback.